Introduction
The Blossom extension is a “Single Sign-On” solution for Web3 applications. It provides security and helps dApps to avoid implementing account management. It also provides wallet functionalities. By managing dApp permissions, users have complete control of the dApps they are using.
Installation
The Blossom extension can be installed from this link in Google Web Store page.
Prerequisites
There is no any specific prerequisites for running the Blossom extension.
If the user is running their own Bee node, then the Blossom extension can be configured to retrieve Bee URL and Bee Debug URL from the Swarm extension.
If you don’t have a running Bee node, you can use the FDS gateway by default:
https://bee-1.fairdatasociety.org
NOTE: If you use a public gateway, you do not have control over data persistence and lose some privacy, as the gateway can see the traffic you generate.
Swarm Extension Configuration
To install the Swarm extension, open the Google Web Store page.
The Swarm extension provides security context for dApps that are loaded from bzz links.
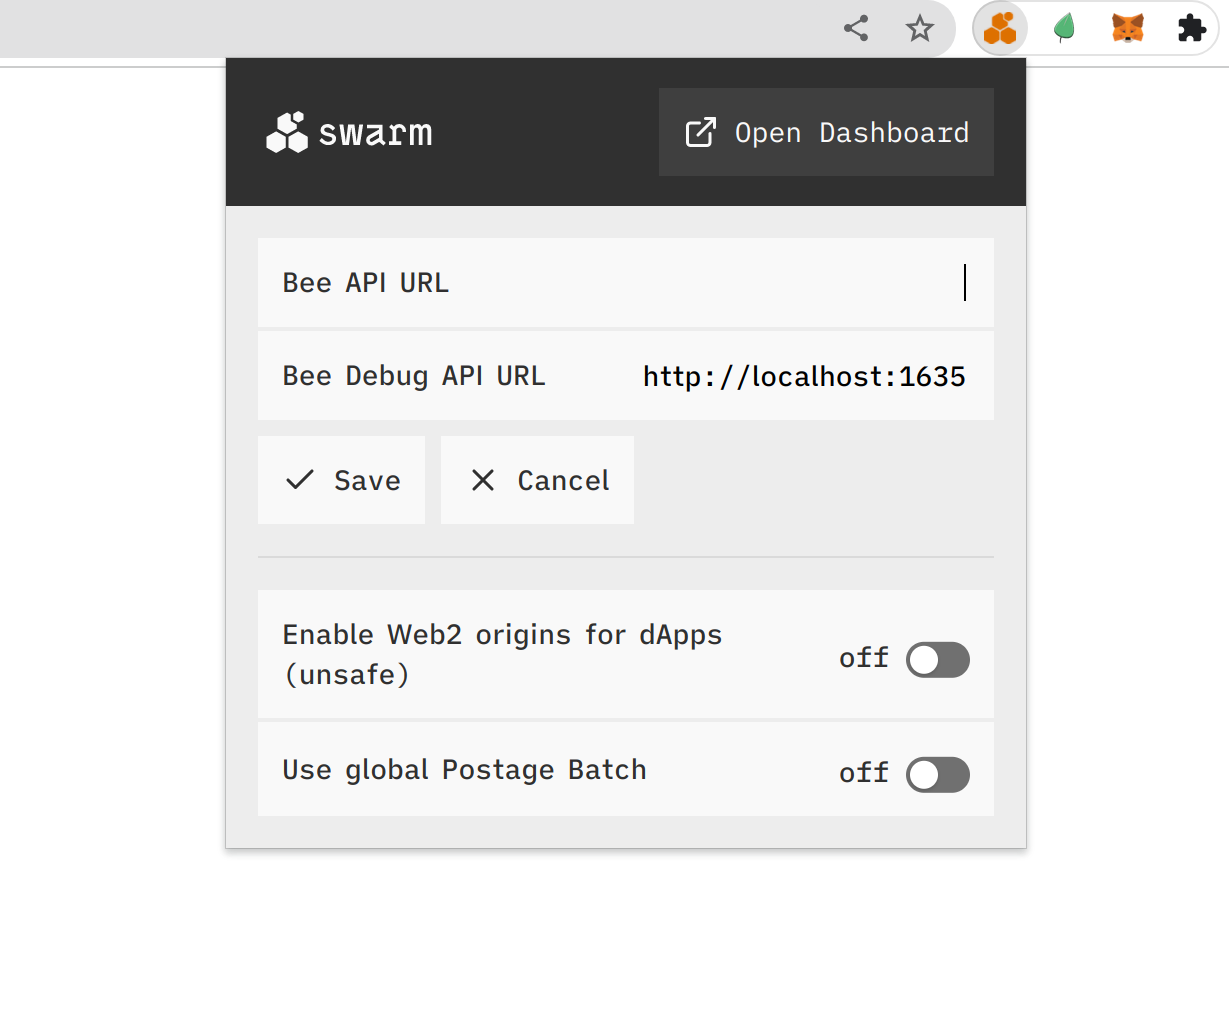
Configure your Swarm extension, by setting the correct URL of your Bee node. Later you can configure the Blossom to use this URL as storage.
If you are running a local Bee node on the default port, then no changes are needed. Otherwise update it to correct URL.
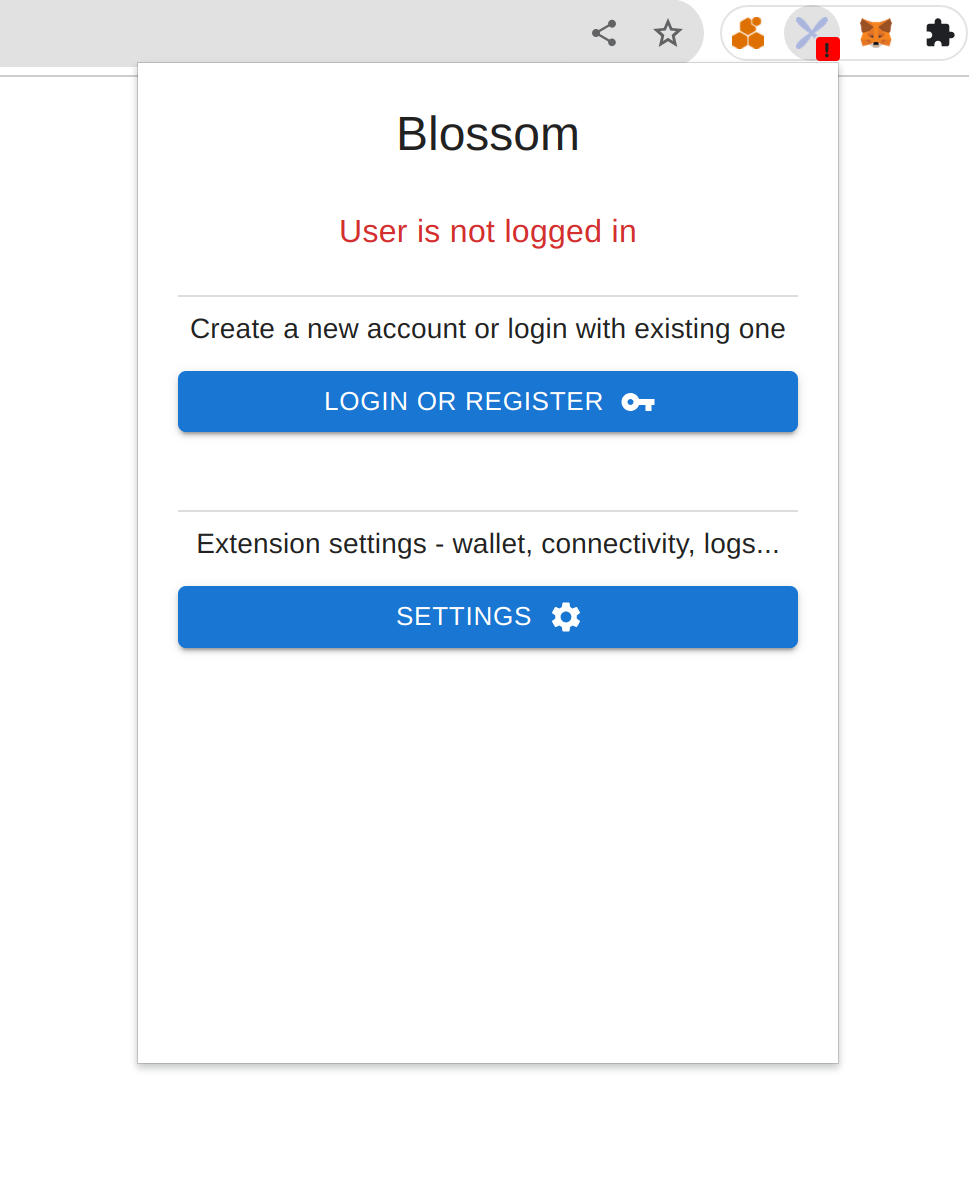
Once when the Swarm extension is installed and configured, to configure the Blossom extension to use it, open the main menu by clicking on the Blossom extension icon.
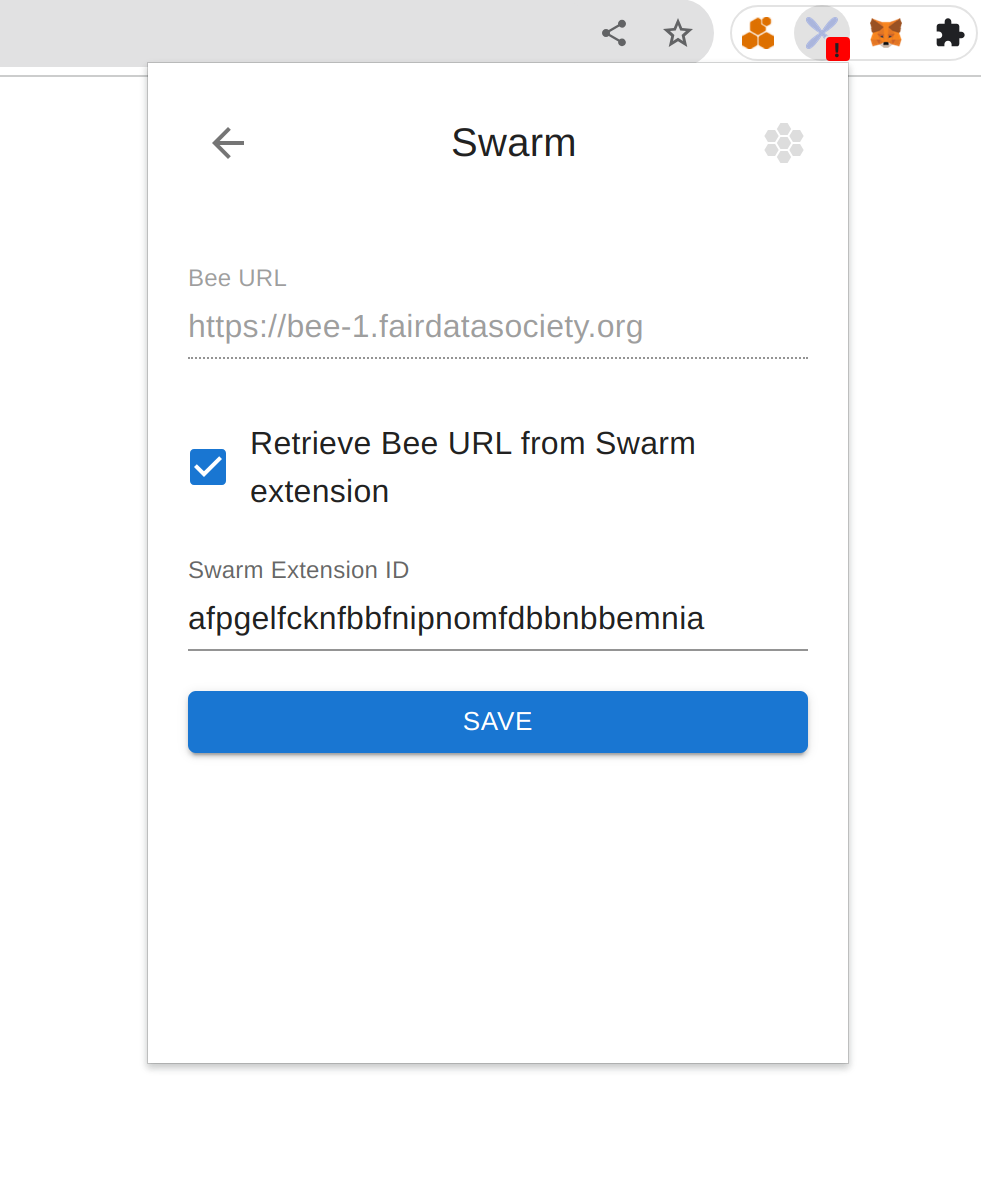
Click the SETTINGS button and then the SWARM button. To enable communication with the Swarm extension, activate the Retrieve Bee URL from Swarm extension checkbox. The field with Swarm extension ID will become visible with default extension ID. The extension ID should be afpgelfcknfbbfnipnomfdbbnbbemnia, if not, overwrite it. Click SAVE. Now the Blossom extension will use Bee URL defined in the Swarm extension.
Creating an account
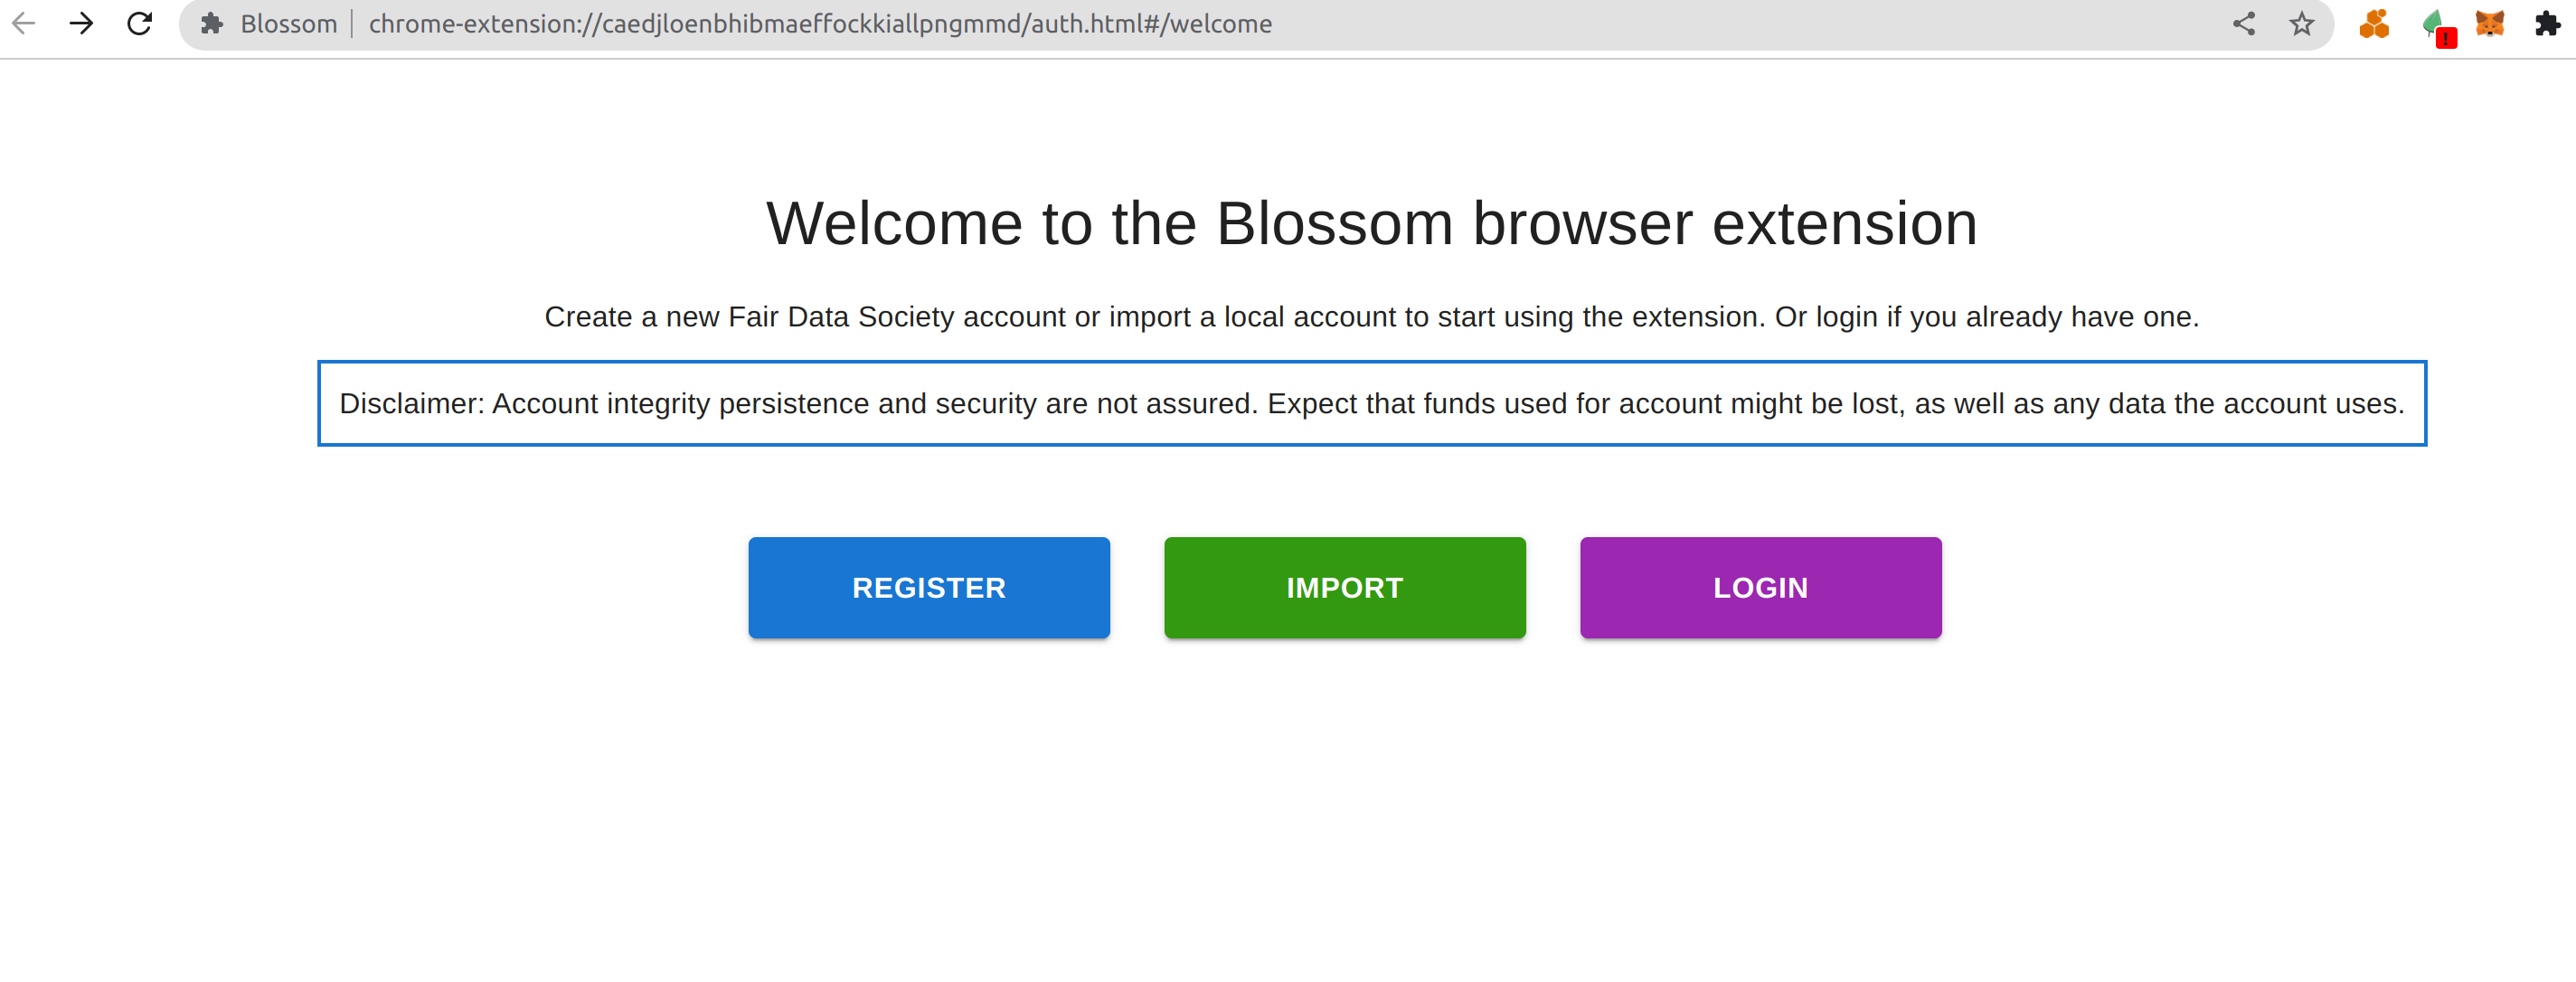
To use the Blossom extension, the user must have an account. To create one, click on the extension icon and select the LOGIN OR REGISTER option.
A new page will open where you can choose whether you want to create a portable or local account.
Portable accounts are encrypted and stored in the Swarm network. That way the user can access them on any device using the password they provided in registration process.
There is also an option to create a local account, which is not stored in the Swarm network. Instead, it’s stored only on the user’s local machine.
Creating a portable account
To create a portable account click on the REGISTER button. In the next screen, first choose the blockchain you want to register the account to. There are several networks available, so choose the one that is suitable.
NOTE: For FDP-Play option, the fdp-play environment must be running locally. Check its repo for more information.
NOTE: You can add a custom blockchain to the list, but in order to register an account there it must have all the required smart contracts deployed. Check the Adding a custom blockchain network section for more information.
Choose a username and password for your account, and click the REGISTER button. Make sure the password is very strong as it cannot be changed and it protects access to your data. If the username is available and password is secure enough, a new screen will open. There you can choose to generate a new seed phrase for your account which is the NEW ACCOUNT option, or you can provide an existing seed phrase - EXISTING ACCOUNT.
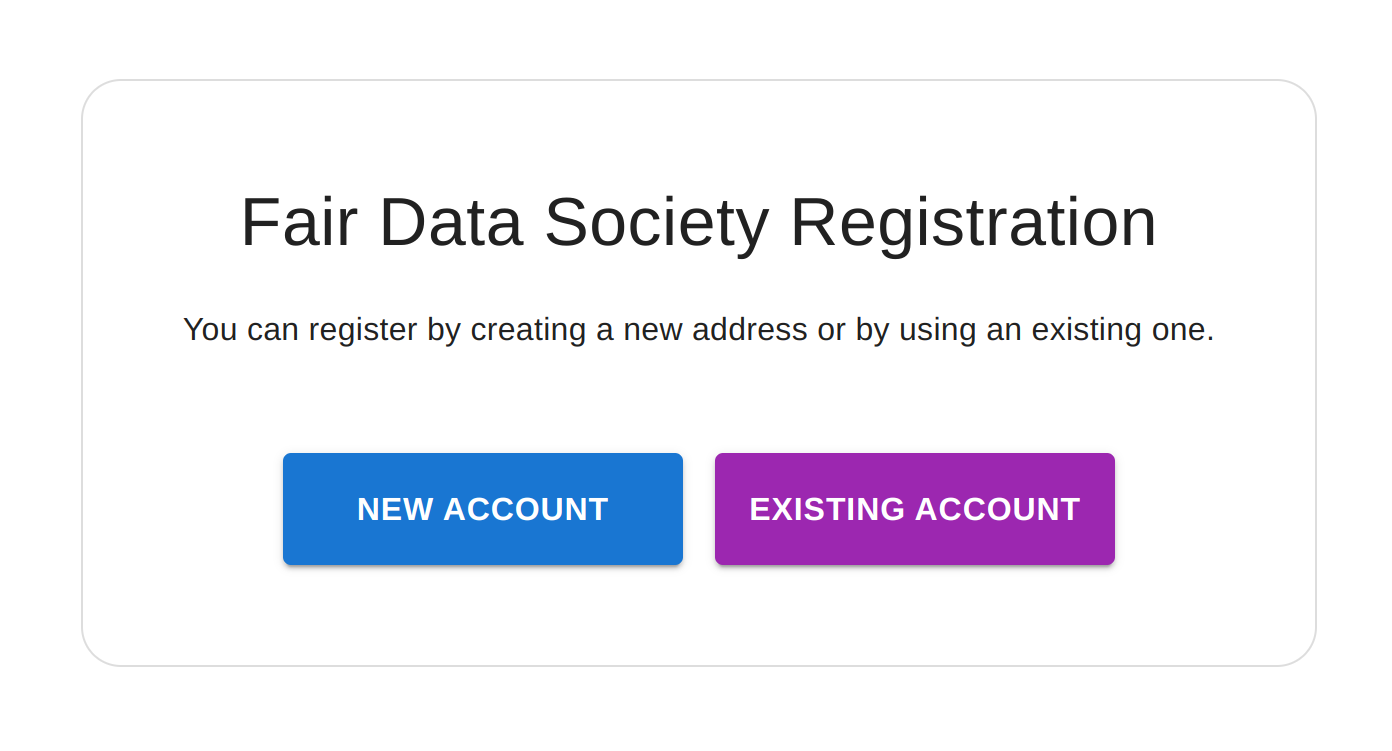
Creating account with new mnemonic
Choosing the NEW ACCOUNT option will generate a new mnemonic. Write down the words that appear in the screen and keep them safely. After confirming the menmonic, a new screen will appear with instructions how to fund your new account.
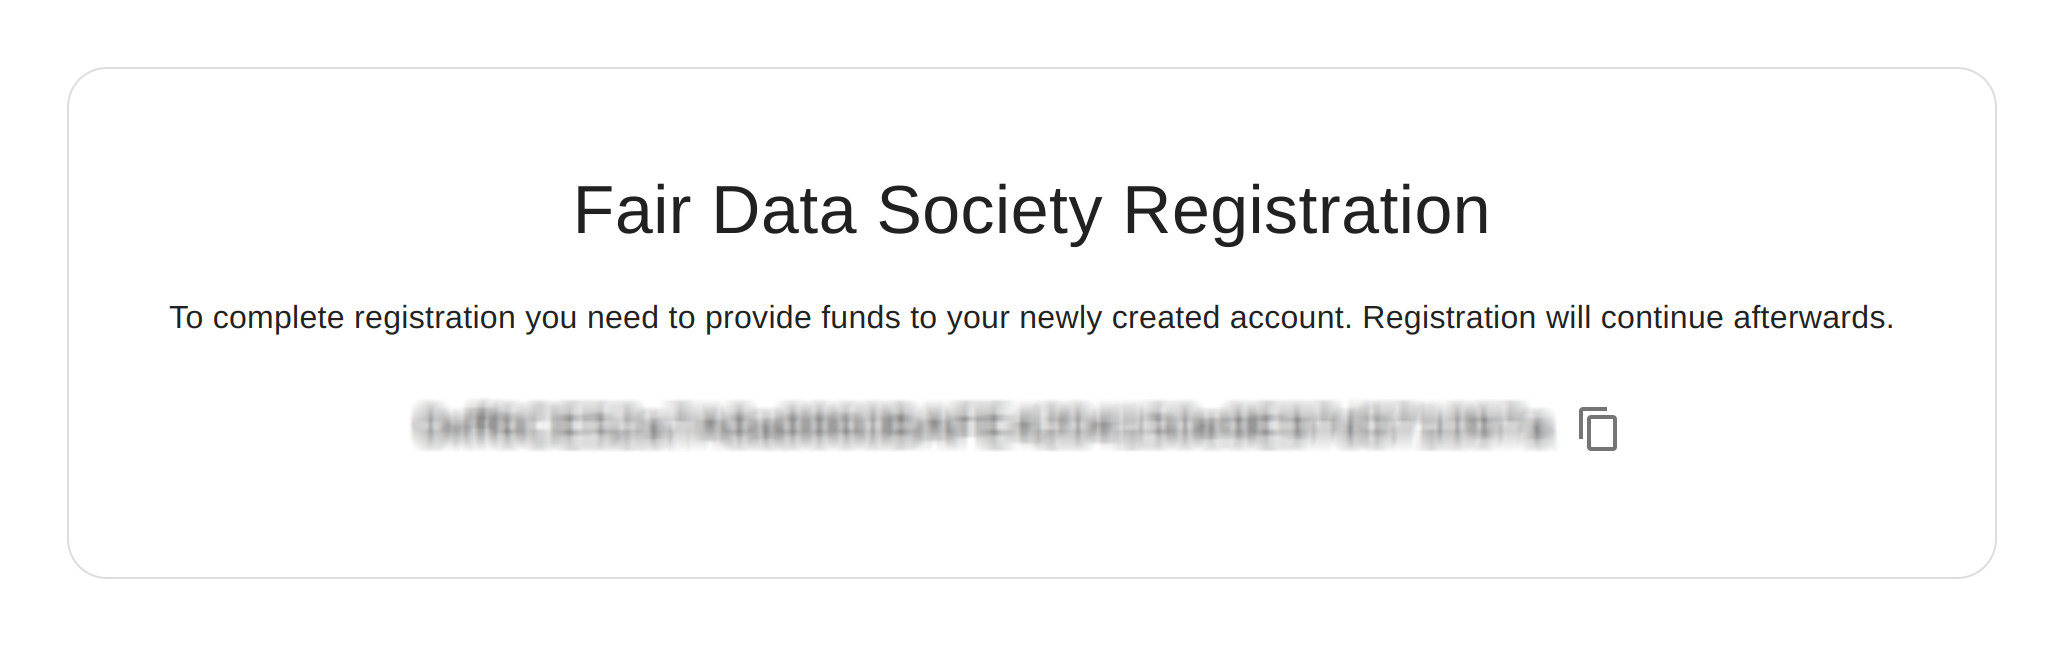
At this point you need to transfer some amount of ETH to the account that is shown. The easiest way is by using the Metamask browser extension.
Sending funds with Metamask
Install the Metamask extension from the Google Web Store page if you haven’t already.
Once when the onboarding process is completed, add the network you want to register your account to. In the following example the Sepolia blockchain will be used. Click on the Metamask icon, then on the network dropdown and the Add network button.
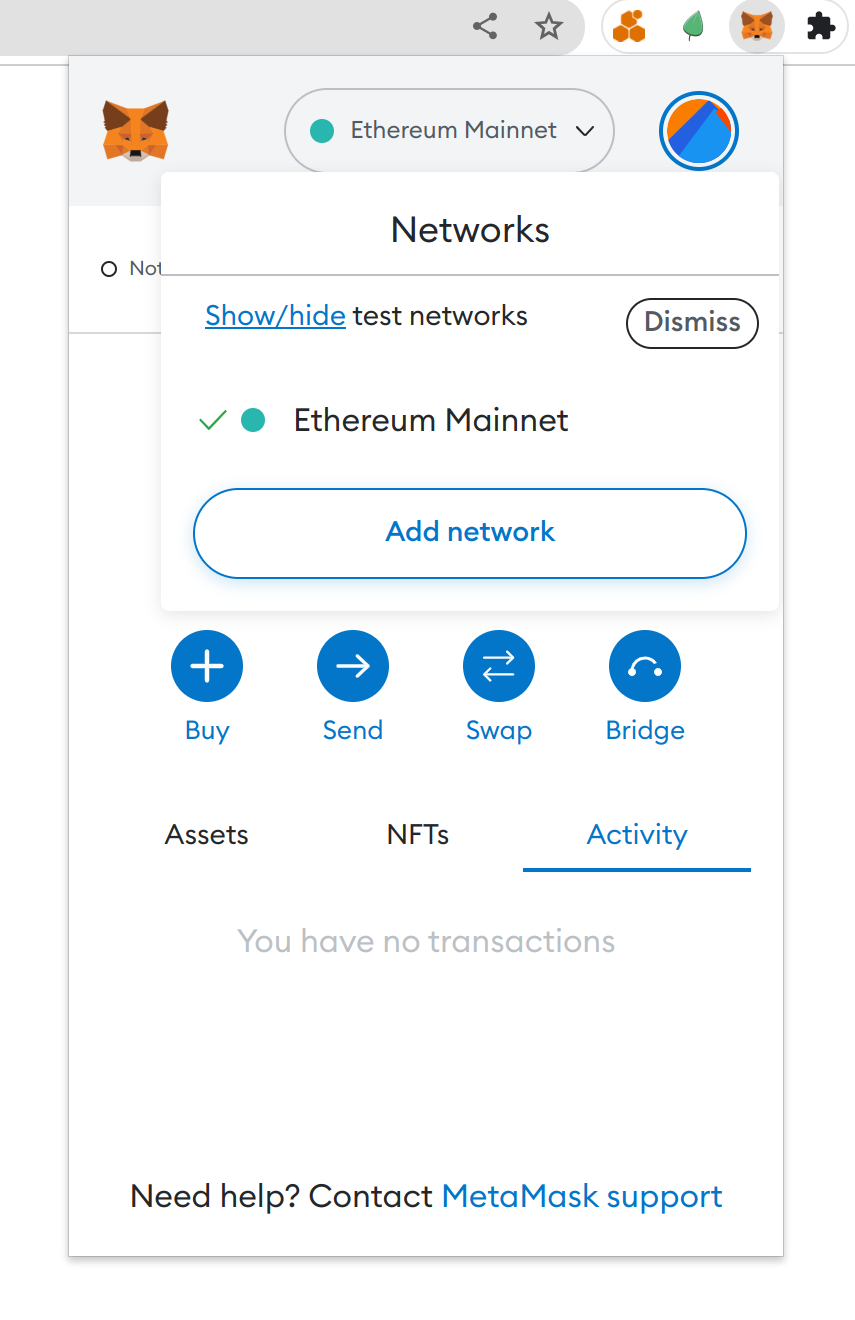
A list of all available networks will appear. Click on the Add a network manually at the bottom. Set the following values to the form fields:
- Network name -
Sepolia - New RPC URL -
https://sepolia.dev.fairdatasociety.org/or your RPC provider URL - Chain ID - enter
1and an error will appear saying that the chain ID is not valid providing the correct value. Now enter that suggested value instead. - Currency symbol -
ETH
After clicking the “Save” button, the Sepolia network will appear in the list of available networks. You can import your account and make transactions on the Sepolia network now.
Now copy the address from the Blossom page, and send some funds to it. It requires approximately 0.002 Sepolia ETH, but that value can vary depending on the traffic. Send the funds and wait until the transaction gets confirmed. Once when it gets confirmed, a spinner will appear on the page. At that moment registration process will start. If it takes too long, like few minutes without any progress, that most likely means that the amount sent to the account is not enough. Try sending additional funds and wait a little bit.
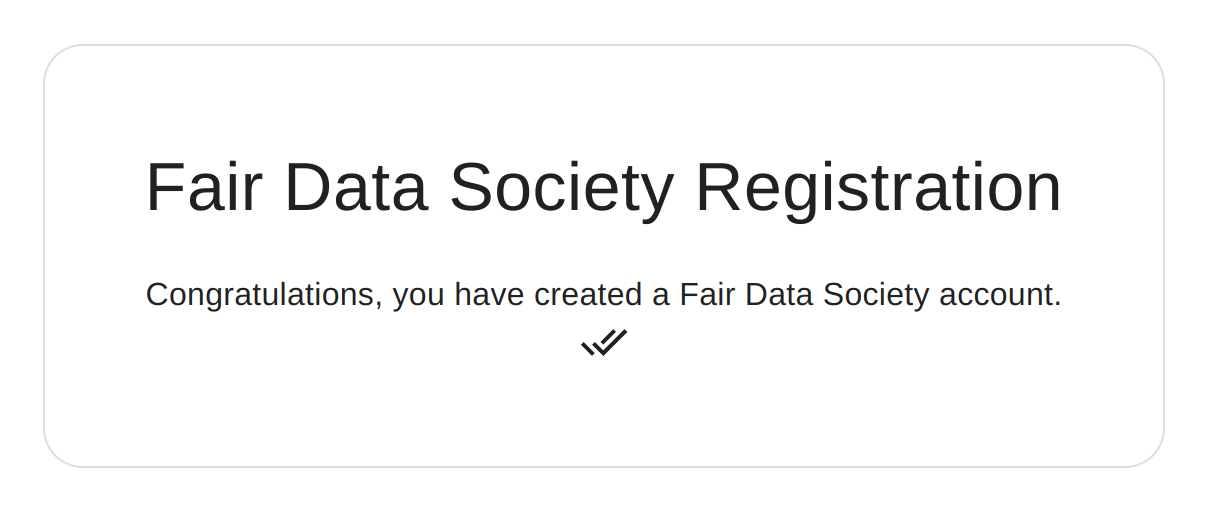
After successful registration, a message will appear confirming that the account was created.
Creating account with existing mnemonic
Choosing the EXISTING ACCOUNT option will open a form where you can provide an existing seed phrase. Entering the seed phrase and clicking the “CONFIRM” button will start the registration process. If there is enough funds on the provided address, registration will complete the same way as with new mnemonic.
Creating a local account
To create a local account select the ‘IMPORT’ option on the first step. Fill the field forms:
- Account name - Just a local identifier for the account
- Password - This password will be used to encrypt the account data
- Recovery phrase - A seed phrase for your account
Usage
You can now test your Blossom extension by using it to log in to the Fairdrive. Open the Fairdrive dApp.
In the top-right corner, there is the Connect button, which will show Blossom as one of the options. Click the button to log in with Blossom.
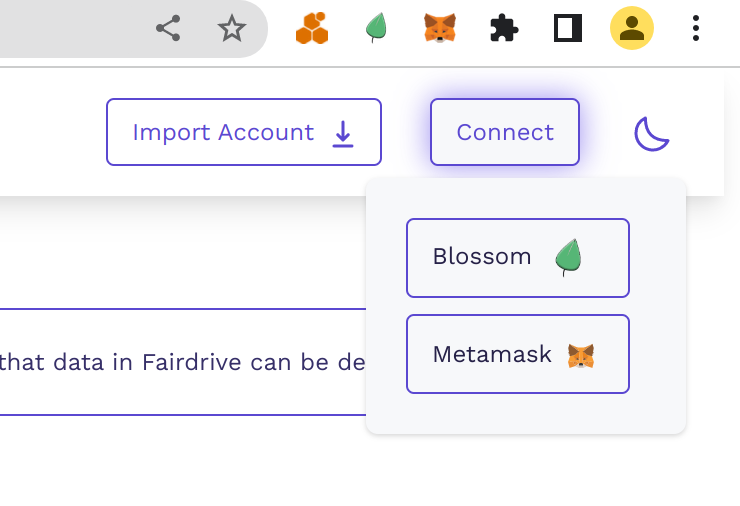
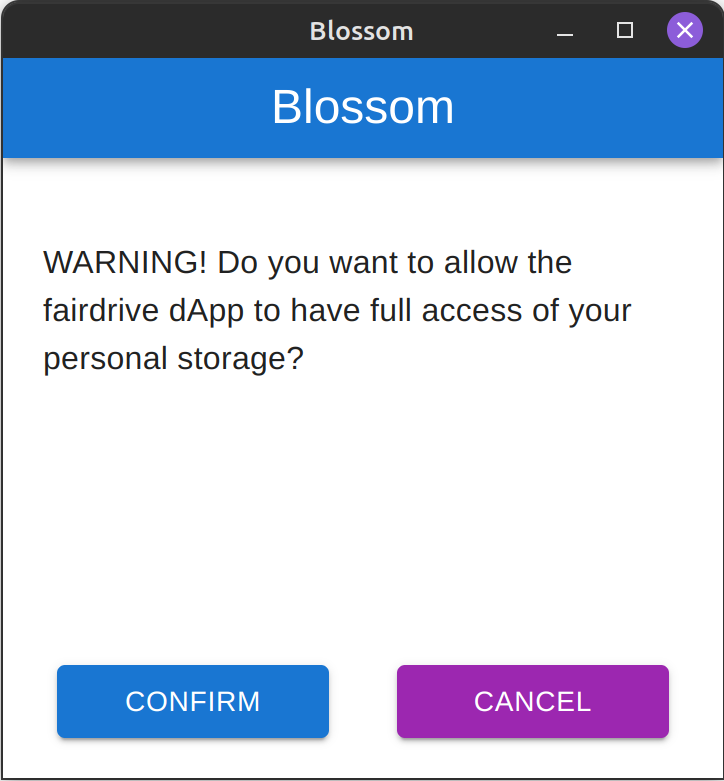
A window will appear asking you to allow the Fairdrive full access to your personal storage. Confirm and you will be logged in to the Fairdrive.
dApp permissions
Each permission granted by the user can be viewed and edited from the Blossom extension.
Open the extension menu and click on the DAPP PERMISSIONS button. There you can see a list of all dApps that have permmissions. Select one of them to see the details.
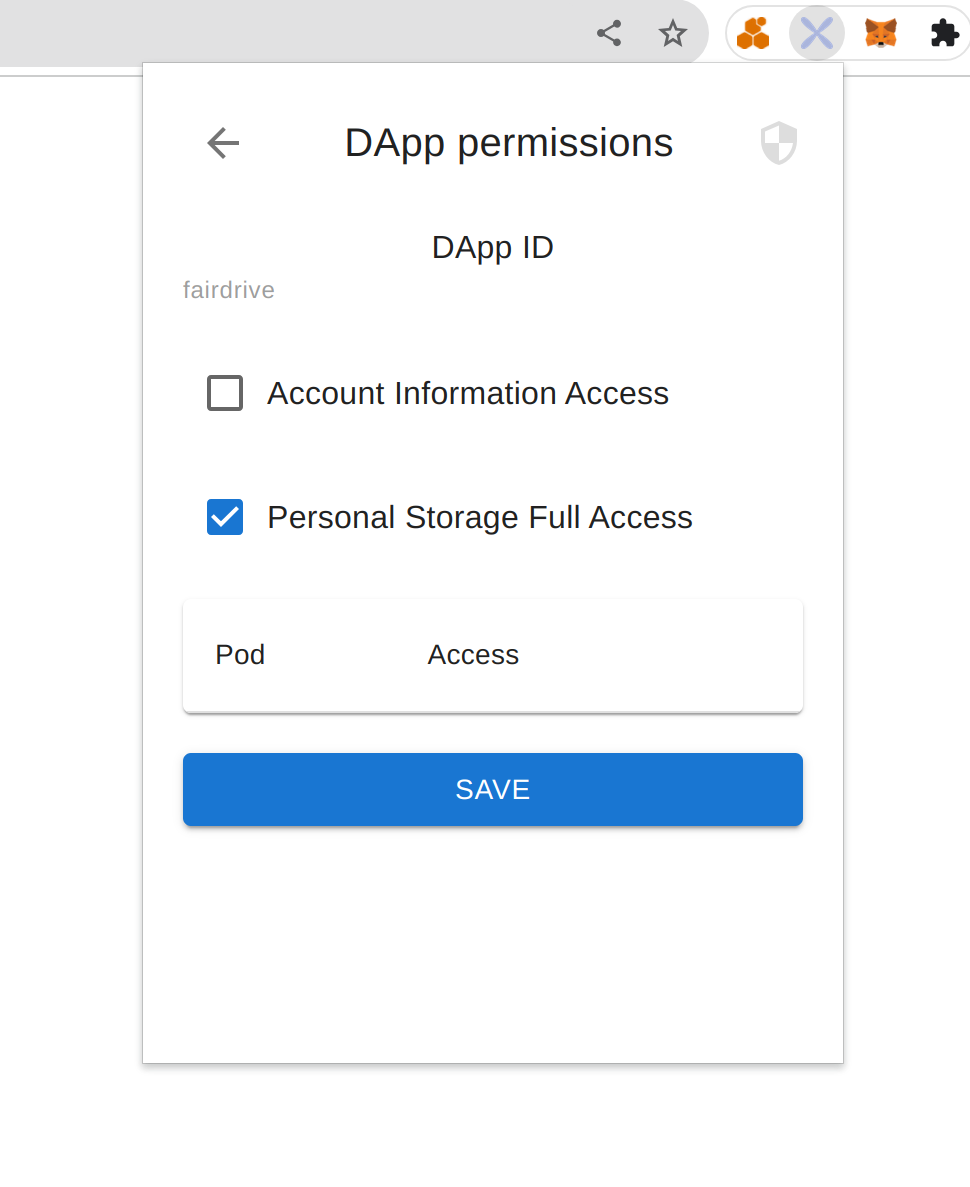
There you can see whether the dApp has full access to your personal storage. And if not, which individual pod it has access to.
Here you can revoke access to any of the dApps.
If a dApp has access to a specific pod, that means it can read, write and delete files and folders in that pod. If a dApp has full access, that means it can access any pod and all files in the personal storage.
dApps can ask you to access your account information, like address and ENS name.
Logging in and out
You can log out at any moment by opening the extension’s menu and clicking the LOGOUT button. After that, all dApps won’t be able to access any data from the personal storage.
Whenever the browser is restarted, user is automatically logged out.
To log in again, open the extension’s menu and click the LOGIN OR REGISTER button. Select the LOGIN option. At the top, you can select whether to log in using a portable account, or a local one.
To log in with a portable account select the FDS tab and enter your username and password, select the appropriate network and click LOGIN.
For local accounts, select the LOCAL tab. Choose an account from the list, enter the password and click LOGIN.
Adding a custom blockchain network
To add a custom blockchain network select the NETWORK button. There you can see list of the existing networks. Click the ADD button. The form requires the following fields:
- Network name - Name of the network that will be displayed in the list
- RPC provider address - URL of an RPC provider
- Block explorer URL - Optianal URL of block explorer for the network
- Addresses of the ENS smart contracts
Click the SAVE button and the new network will appear in the list. This network now can be used to register new account or to log in.
NOTE: This option is mostly ment for experimentation and testing.
Blossom Wallet
While you are logged in, you can use the Blossom extension as a wallet as well.
Sending
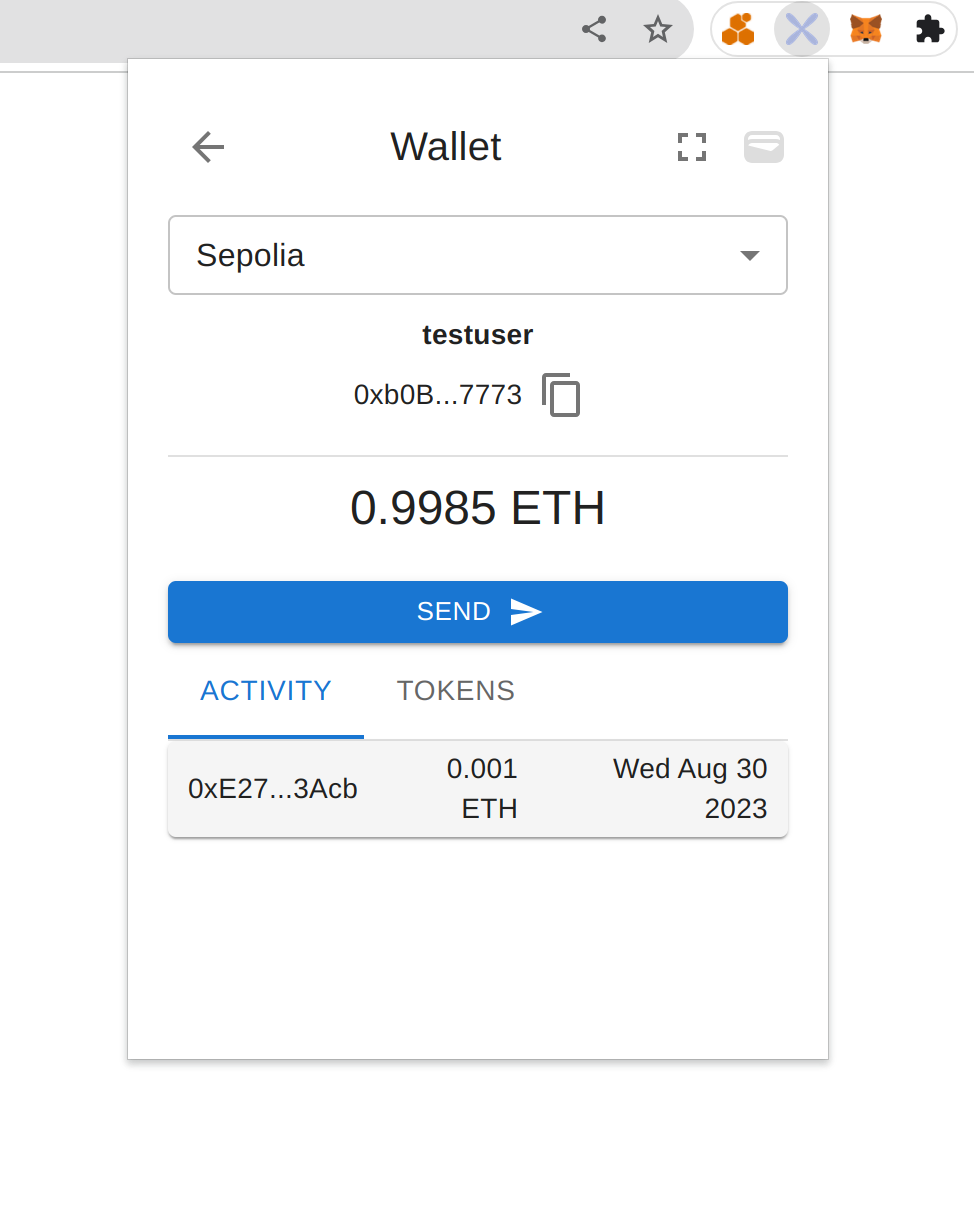
To send ether, open the menu, click the WALLET button and then the SEND button.
You can send tokens the completely same way, just before clicking the SEND button, select the right token from the Tokens tab.
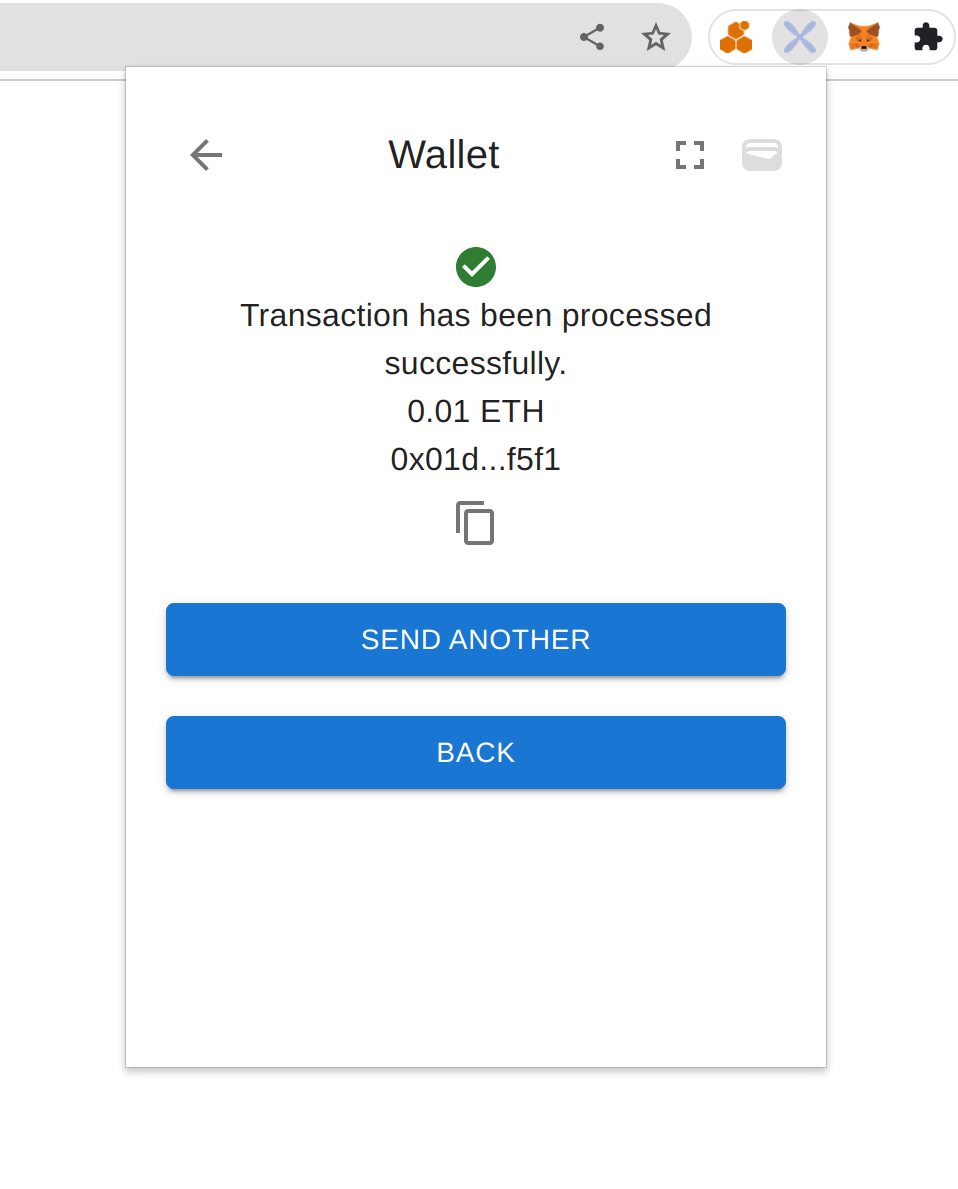
Choose the address that will receive the transaction and click SELECT. Then enter amount you want to send and click SEND. Before confirming the transaction, check if all information is correct. If not you can cancel the transaction and correct it. If everything is correct click SEND. After a short period of time, if the transaction is processed successfully the following screen will show up:
If you go back to the wallet overview page, you can see transaction details if you click on a transaction in the Activity tab.
Tokens
To import a token, go to the Tokens tab and click the IMPORT TOKEN button. Enter the token address and you should automatically see the token details as well as balance.
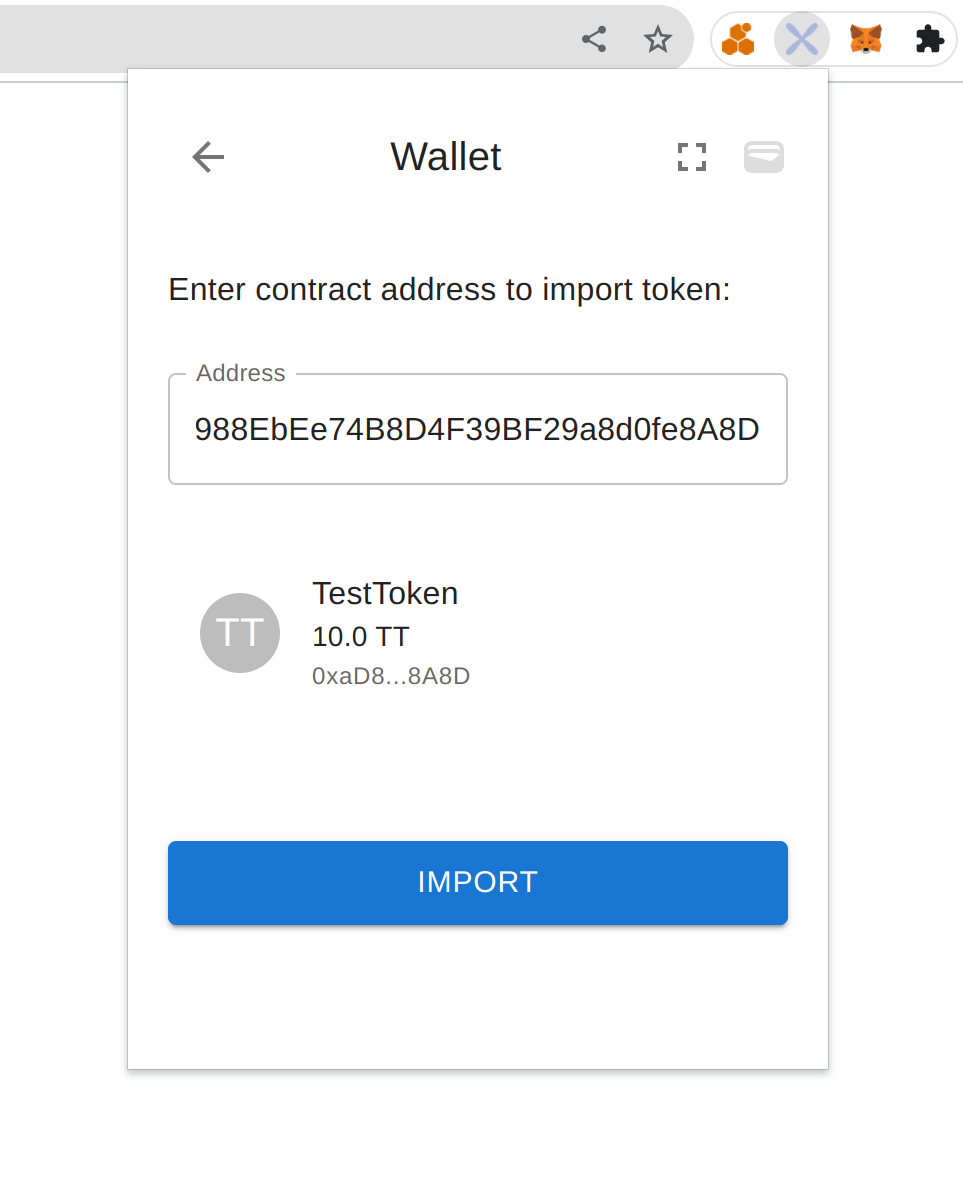
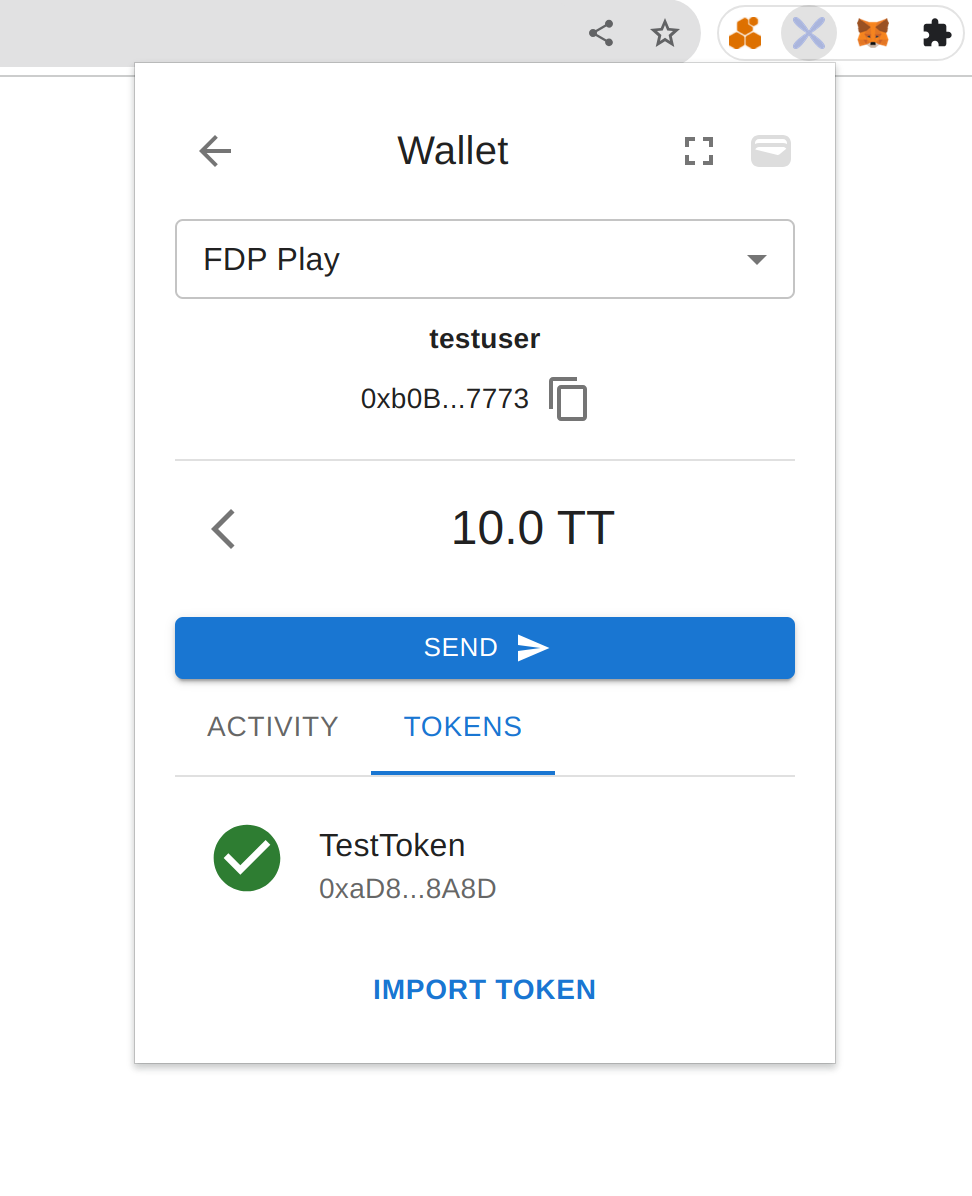
Confirm import and the token will be added to the Tokens tab.
If you click on a token, that token will become selected. Clicking the SEND button afterwards will start a process of sending that token instead of ether. You can deselect a token by clicking the back arrow in front of balance.
Updates and new versions
To learn about new features and new dApps check the Blossom repo or the Discord channel.